
Our goal is to allow you to impose your files as quickly and as easily as possible. We’re continually working towards building feature rich imposition software that doesn’t require you to invest a large amount of time to learn before you start using it. In fact, we want it to be as intuitive as possible. Continue reading to learn how to quickly get set up and learn some of the features.
Imposition Software You Can Learn In Minutes
Again, our goal is to help you get your files imposed quickly, not be a source of stress because of overly complicated features and instructions. Here are the three basic steps of how the software works.
- Select a template or create your own. A template is the layout of how you impose or merge your files together. We have system templates made for popular sizes (for example, standard size business cards) that you can use or you can create your own by entering in a few sets of values and naming the template. Here’s instructions on how to create a template unique to whatever requirements you have.
- Upload your files to the template you want to use. There are two ways to do this, the first is a simple web FTP option where you simply drag and drop your files right in the browser. The second is the traditional FTP where you can connect with an FTP client of your choice. You can find your unique FTP credentials clearly located in the left navigation panel.
- Impose your files. Select all or just files you want to impose, adjust any settings if needed and click the build button. Head over to the history section in the left navigation and watch your files being imposed in real time. When the files are done, download the compressed or uncompressed version.
Feature Rich Yet Simple To Use
File Splice can handle two or two thousand files. We’ve built it to be flexible. One of the main features we’ve included is a setting in the merge section called “add a break label”. This feature has an on or off setting. When on it automatically creates a low resolution copy of the file. The file has a thick red border around it and the file name in the center. The break label is placed at the start of the run and used to identify the start and end of files. This is a huge help when imposing hundreds of versions of files that need to be sorted and collated after you print them.
Another feature is setting page sizes. This allows you to merge files in set amounts of pages making bindery or finishing easier. There is a feature to add a custom slip sheet before every file. This is similar to the break label but it’s a custom file you upload, think coupons or inserts for customers. You also have the ability to turn on or off crop marks, set overages for every file and adjust the quantity.
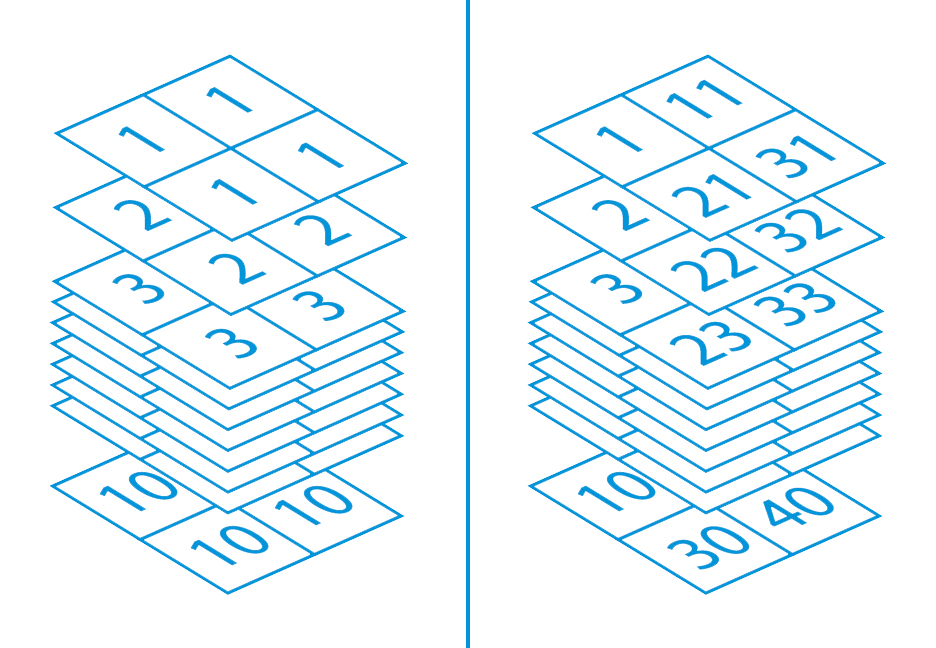
Finally you have the option to select the merge style, choose from standard step and repeat, step and repeat with a page break between different fields or cut and stack. Here is the detailed page talking about merge styles.
Free Setup and Support
Finally, we’re here if you need help. We’ll be happy to help you get your templates set up and answer any questions you have at no cost to you. We really do value your time and your business so if you need some help contact us.