Organize, Merge & Prep Your Documents in Seconds.
Online tools for PDF imposition, mail merge, and document management. Built for print shops, offices, and anyone handling big stacks of files.
- Free setup help and ongoing support.
- Monthly billing. No contracts, cancel anytime.
- Drag & drop interface anyone can use.
- Browser-based. Nothing to download or maintain.

Why File Splice?

Secure
SSL encrypted and hosted on AWS, so your files stay protected and reliably available when you need them.

Low Cost
No setup fees or long-term contracts. just monthly pricing you can start or stop as your workload changes.

Easy To Use
Clean, drag & drop tools. Free setup help and support, so anyone on your team can run jobs in minutes.
The Tools:
The Merge (Imposition) Tool:
Use built in system templates or create your own in seconds. Choose your sheet size, item size, margins, and bleed, then upload your files to lay them out in N-up, step & repeat, or cut-and-stack formats. It’s enterprise level imposition in a simple drag and drop tool.
Need to combine files of different shapes and sizes? Use the packable setting to fit them efficiently onto the sheet.
- System or custom templates for any sheet size
- N-up, step & repeat, or cut-and-stack imposition
- Packable mode for mixed sizes
- Automatic cover sheets and slip sheets
- Set overages and adjust quantities on the fly
- Crop marks and page numbers
- Drag and drop upload or FTP for bulk upload
- Works with the Collate Tool to bundle files
- API-ready for automated workflows

The Mail Merge Tool:
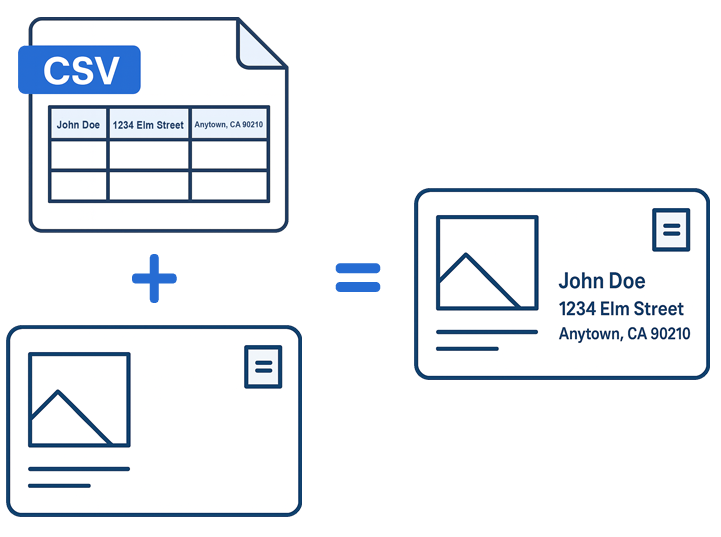
Effortlessly create a batch of documents that are personalized for each recipient. Upload a CSV file, upload a PDF file and get a new batch of files unique to everyone on the list.
It doubles as a form filler tool to fill forms in large batches. The merge tool (above) is integrated with the mail merge tool so you can impose your files during the mail merge process if needed.
The Add Pages To PDF Tool:
Bulk up an existing PDF by inserting pages into it. Quickly insert single page PDFs, JPGs or PNG files into a multi page PDF.
You have the ability to insert the new file in front of every page. Then for every X amount of pages thereafter along with the option to only insert it X amount of times.


The Collate (Combine) Tool:
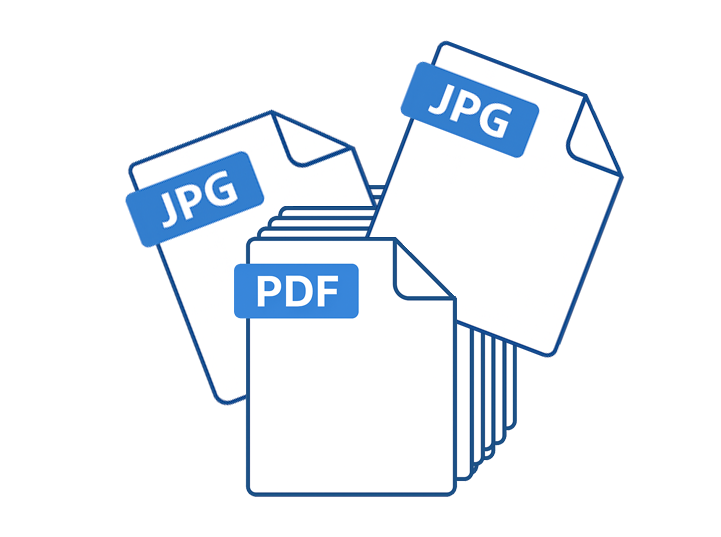
Upload, drag, drop and duplicate files with ease. Set the order you want and click the collate button. You’ll get a nice new multi page PDF made from any combination of JPG, PNG or PDF files.
Mix and match file types & Works with multi page files
The Splitter Tool:
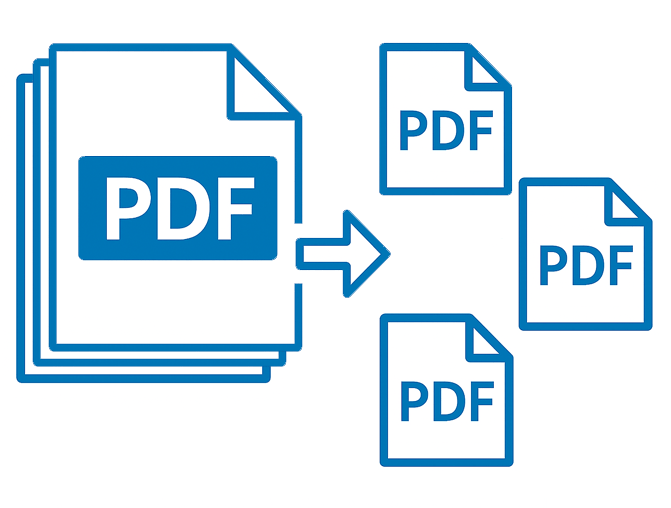
Split up multi paged PDF files with a quick drag and drop. Pull out a single page or download all the pages individually with a single click.
Send files over to the collate tool right from the splitter tool to rearrange pages or insert JPG or PNG files and create a new multi page PDF.

Latest From The Blog:
-
How to Create Bulk Name Badges for Events in 3 Clicks (Without Word)
Planning an event is stressful enough. There’s catering to manage, speakers to wrangle, and a million tiny details to track. The last thing you need is to spend two hours wrestling with a…
-
Avery 5395: The Ultimate Guide to Dimensions, Margins, and Variable Data Printing
The Avery 5395 is the industry standard layout for adhesive name tags and badges. If you’ve ever peeled a name tag off a sheet at an event while surrounded by strangers, it was…
-
How To Combine Four Pages On A Single Page PDF
Here are the simple instructions on how to combine four pages onto a single page. It’s an easy process and you have the ability to make the page size and the pages you…
