
Imposition Software (Merge Tool) Instructions
Four steps to set up your imposition workflow. If you get stuck, free support is an email away.
Choose or Create a Template
Templates define how files are arranged on the sheet — sheet size, margins, spacing, rows, and columns. Pick from the system library or build your own and save it for reuse.

Click to enlarge
Upload Your Files
Drag and drop PDF, JPG, or PNG files directly into your chosen template in the browser. For large batches, connect via FTP for bulk uploading.
Click to enlarge
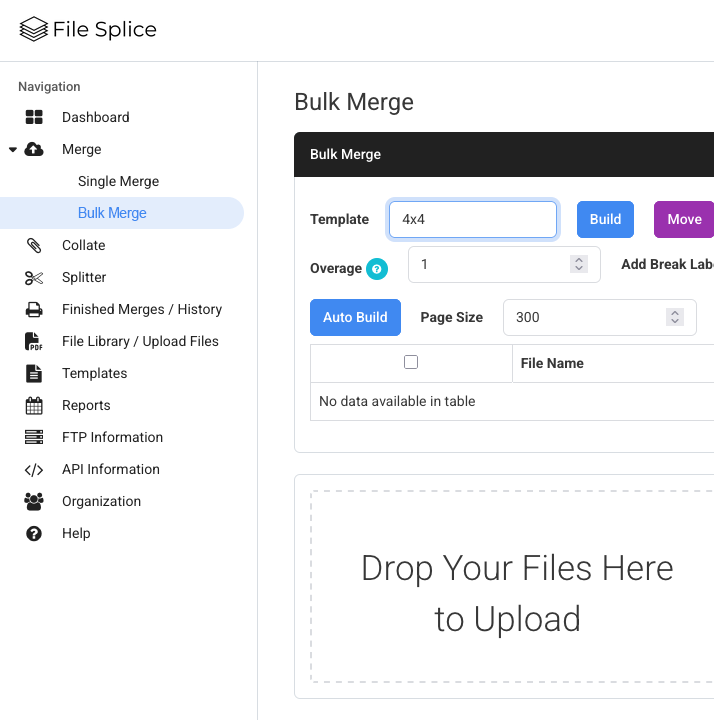
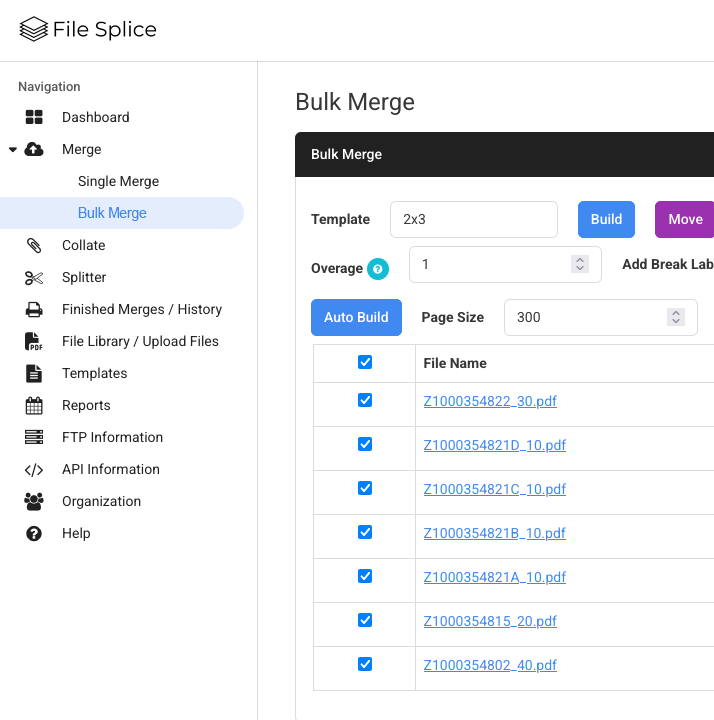
Configure and Build
In the Merge section, select the files you want to impose, adjust your settings, then click Build.
Click to enlarge
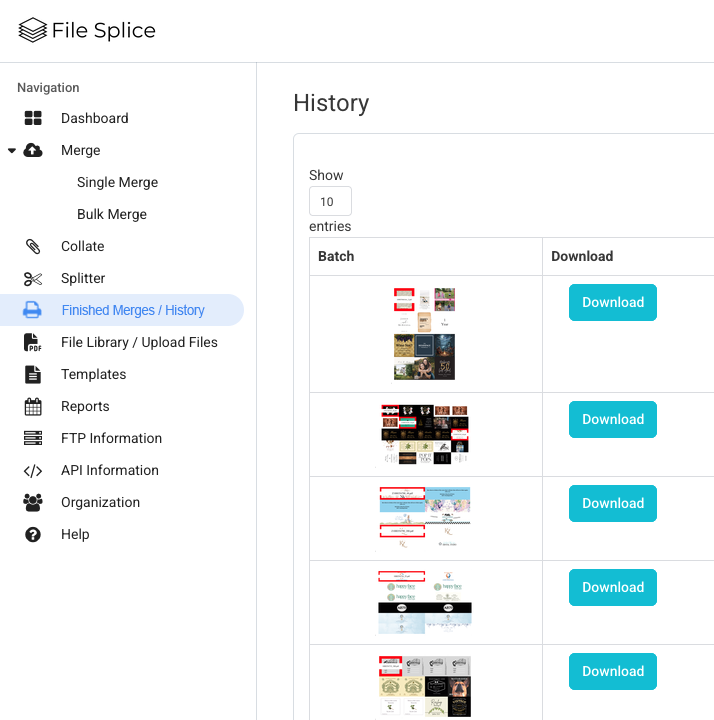
Download Your Output
Head to History to watch your build in real time. A Download button appears the moment it’s ready.
Click to enlarge
Ready to Get Started?
No setup charges, no long-term contracts. Free setup and support included.
Video Tutorials
Step-by-step walkthroughs on YouTube covering every tool and workflow.
Watch videos →