
Templates define the layout of files on a page.
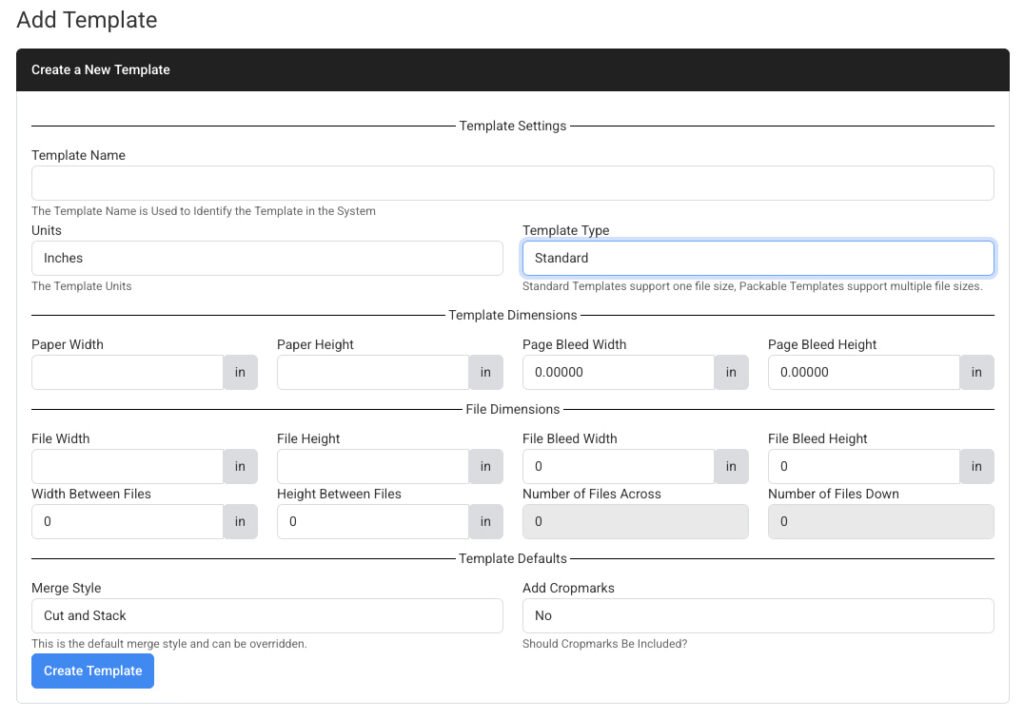
- Template Name. Name your template so it can be identified within the system.
- Units. Choose centimeters or inches.
- Template Type. Choose standard if you want a fixed size file on the page. Packable will allow you to merge files together of different sizes and shapes in the most economical way as to utilize the paper width and height.
- Paper Width & Height. Set the width and height of what you what the output of the file to be. **Please note, all the values below this must equal the paper width & height. For example if your paper width is 12″ then your label width, label bleed width, width between labels and page bleed width must equal the paper width.**
- Label Width & Height. Set the finished size of your label.
- Label Bleed Width & Height. Set the extra bleed included in your file(s). Keep in mind crop marks are generated from this number.
- Width & Height Between Labels. These values will automatically calculate based upon the information from steps 3, 4 & 5 but you can manually enter this if you like just keep in mind the other values will change based upon the paper width and height.
- Page Bleed Width & Page Bleed Height. This is basically the margins of the page should you require them.
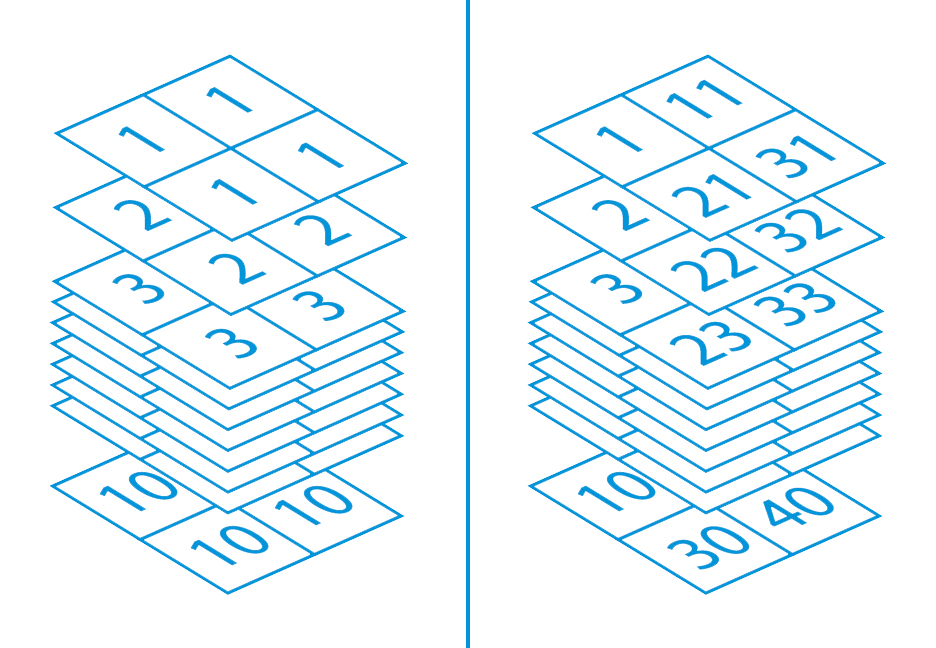
Merge Style. Set “”step and repeat” for the imposition to run down the page like a standard home printer would. The variation is “step and repeat, page break, this will stop imposing after each file and start that file on new page.
Set “cut and stack” and the build will start at the top left and impose down the stack (stack height can be set in the merge section) and back up and move to the right. Once the first row is finished (if there is multiple rows) it will move to the next row left side and continue on. Please note, you can also adjust this setting on the fly in the merge section if you decide you need to change it.
Set “packable” and you can merge files of different shapes on a page. Learn more about packable imposition here.
- Page Bleed Width & Height. These values will also automatically calculate based upon the information from steps 3, 4, 5 & 6 and tell you how much grip space will be available on your finished sheet. If you adjust these values keep in mind all the other values will adjust based upon the available space on the page.
- Number of Labels Across & Down. Again these values will automatically calculate based upon the information from steps 3, 4 & 5. The system will calculate the maximum amount of labels possible to fill the paper width and height values.
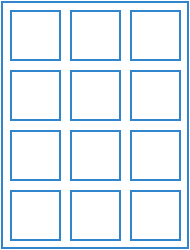
Template Visualizer
Use our simple template visualizer tool to enter the values of your template and get a quick visual reference.
